
Why this matters — the problem to solve
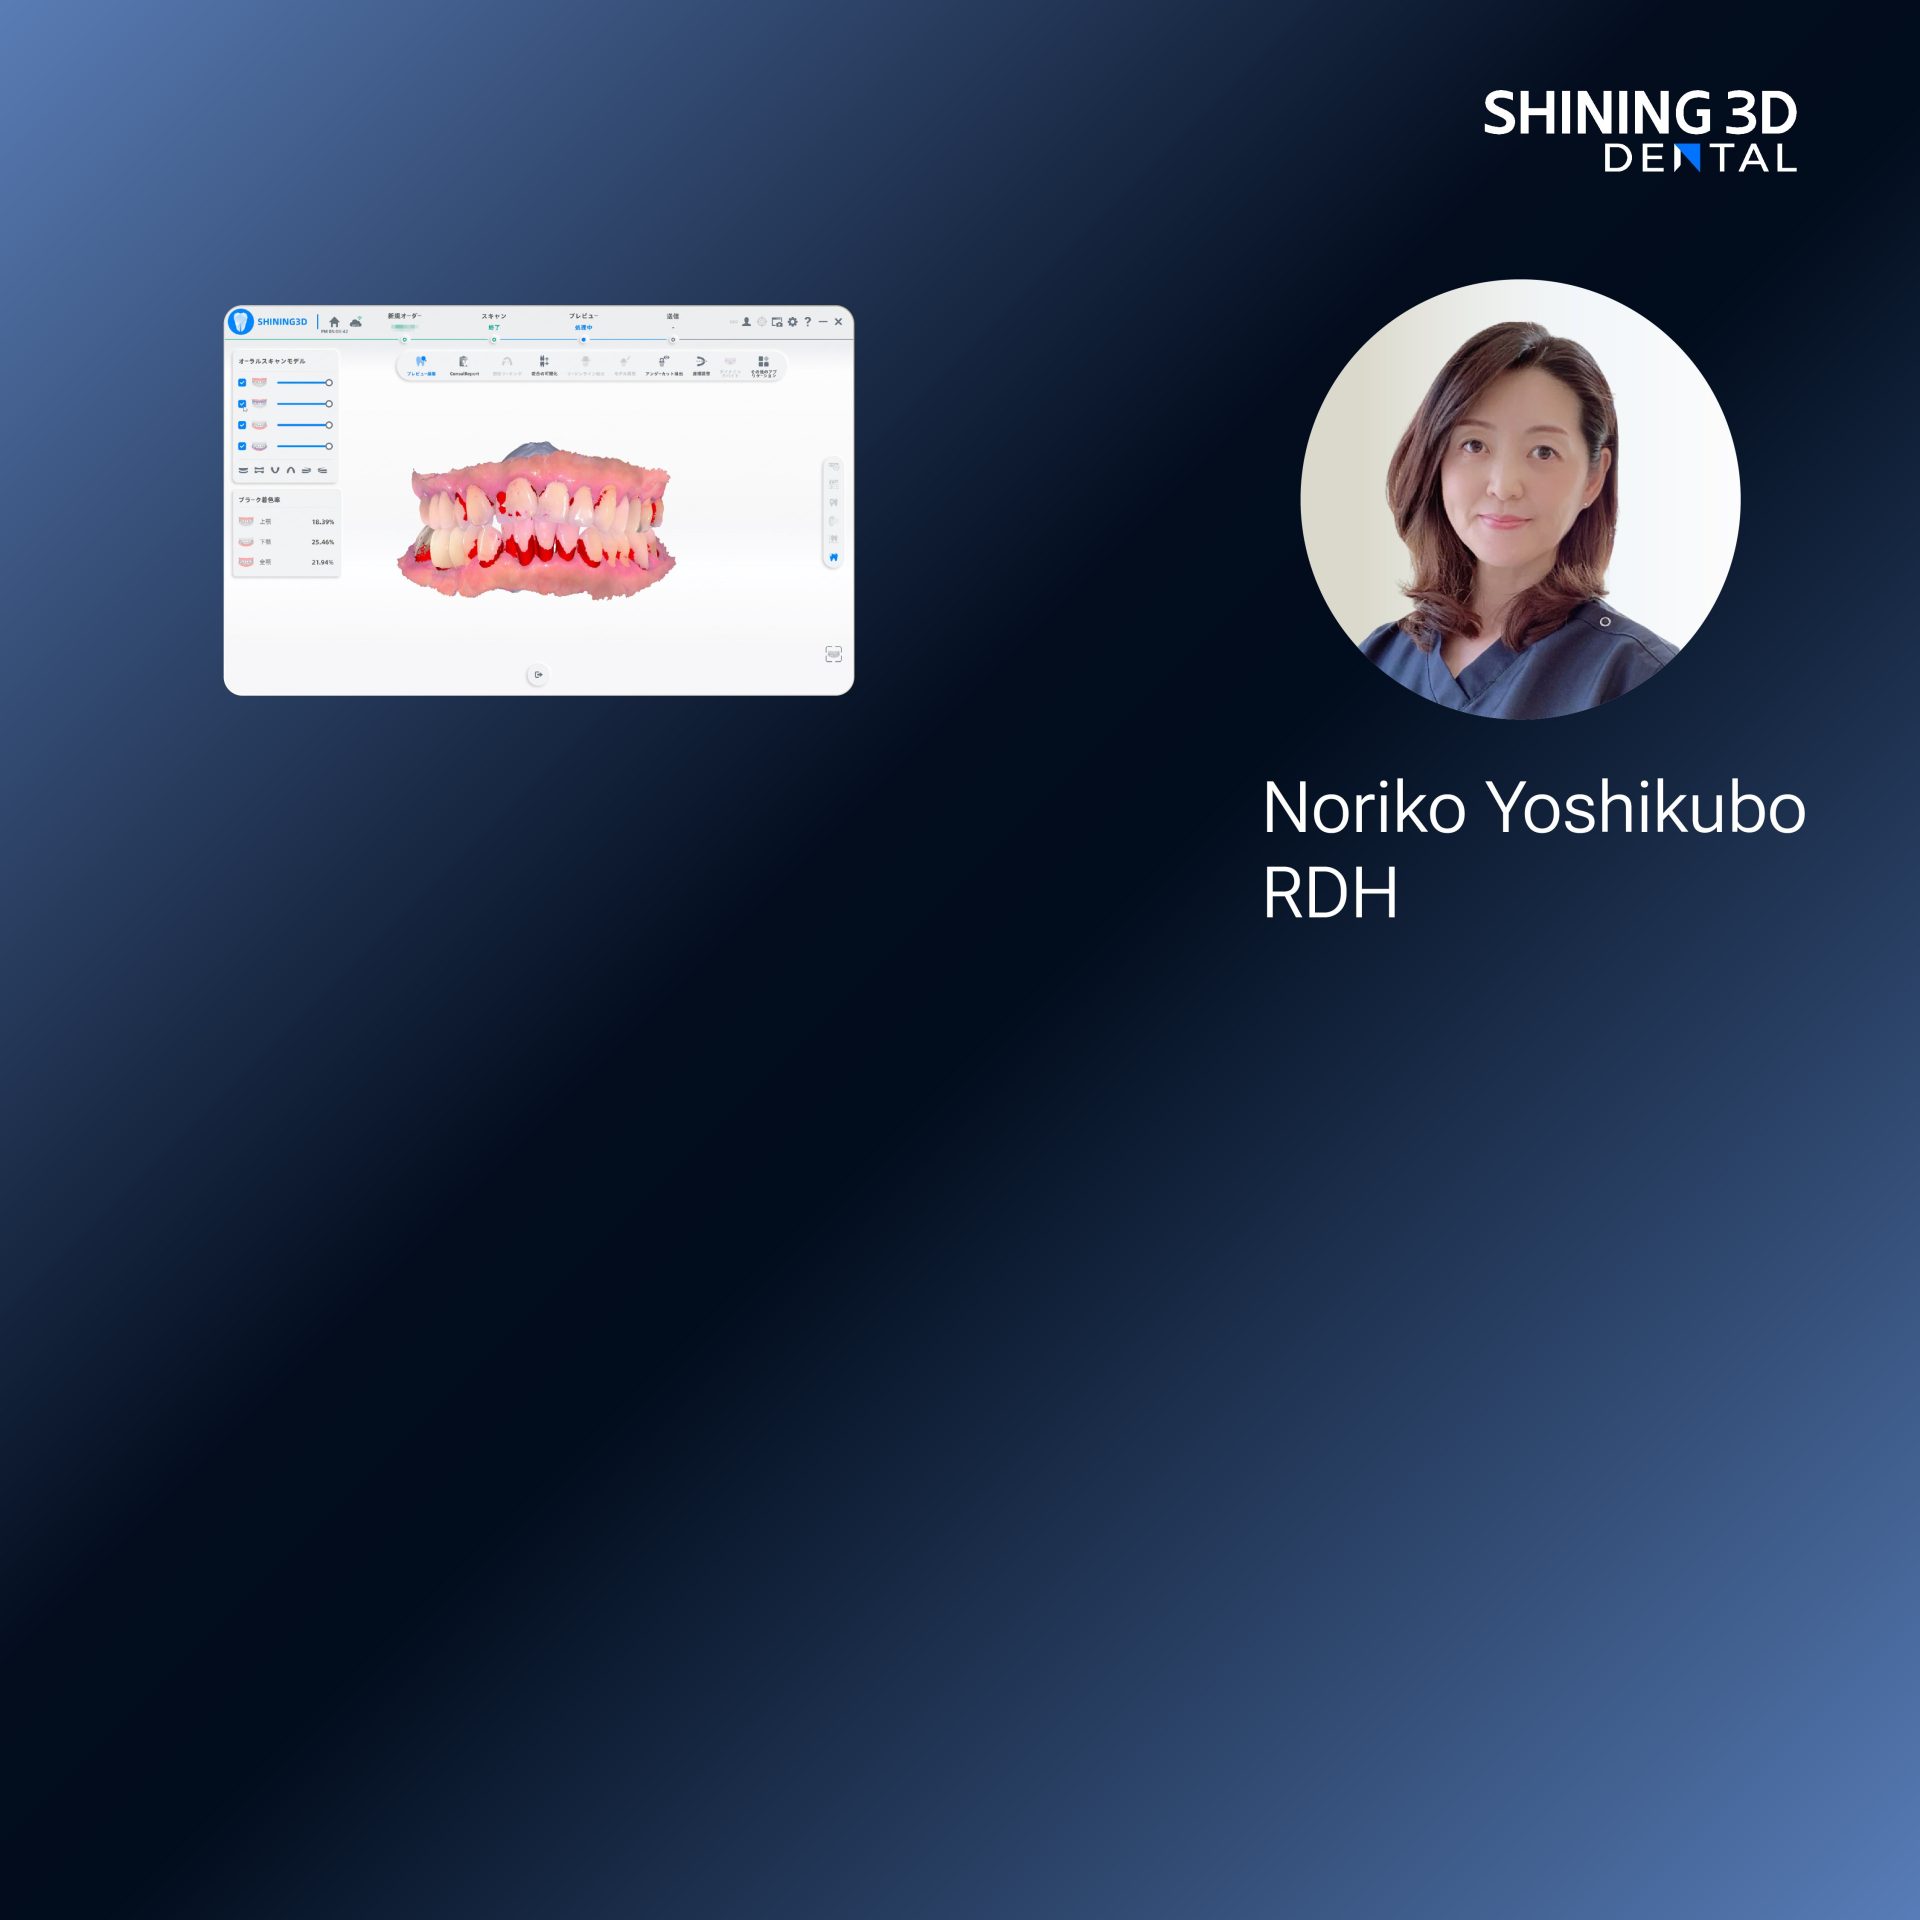
Patients want same-day results. Labs push long lead times. You lose chair hours and margin. A compact dental resin 3d printer can cut that gap, but only if you fix workflow, materials, and post-processing at the same time. At IDS in Cologne, compact systems were demonstrated alongside practical workflows for a modern dental office 3d printer, showing clinics how they can move straightforward cases in-house with predictable fits.
Core checklist before you commit
Decide what you’ll print and how often. Check build volume versus typical restorations. Confirm layer resolution and XY accuracy; crowns need finer detail than models. Verify compatible, certified resins and post-cure options. Ask about service, spare parts, and local support. Confirm material biocompatibility and any regional regs. Plan for a dedicated wash/cure area and PPE. If you can’t answer each item in one minute, pause the purchase.
Common mistakes clinics make
They buy a machine for speed, then ignore finishing. They skip orientation and overuse supports. They mix resins in the same vat. They treat post-curing like optional. Fix these by standardizing one resin per indication, orienting parts to minimize supports on margins, scheduling a single trained operator, and timing wash/cure precisely for each material.
Practical 8-step in-office workflow
Scan the prep. Design the restoration with a concise margin and minimal complexity. Slice with a tested profile. Orient to reduce unsupported overhangs. Add light supports away from critical margins. Print, then wash in fresh isopropyl until resin runoff stops. Air-dry, post-cure per resin instructions, remove supports, lightly finish, try-in. Time each step and record actual minutes — refine the plan every week.
Materials and finishing — what to choose
Use ISO/biocompatible resins for intraoral use. Select temporary crown resin for provisional, surgical-guide resin for guides, denture base resins for prosthetics. Avoid hobby resins. For finishing, use fine diamonds for margins, check contacts against a printed die, and polish only after full post-cure. Label opened bottles with date and use FIFO for shelf-life control.
Maintenance and quick troubleshooting
Daily: clean build plate and inspect vat for clouding or debris. Weekly: level or verify z-offset and run a calibration print. Replace the vat liner at first visual abrasion. If prints peel, shorten exposure time or add more supports; if detail is soft, check light source uniformity and resin temperature. Keep firmware current and log every print failure with one-line cause and fix.
Buy versus outsource — clear trade-offs
Buy when you handle many temporaries, surgical guides, or simple crowns and need speed and control. Outsource when cases are complex, volumes are low, or regulatory burden is unclear. Calculate the break-even: days saved per case times average production cost. If that math doesn’t favor in-house, keep the lab relationship and learn the workflow first.

Final synthesis — a practical payoff
Fix a single clinical gap at a time: start with one indication, master the print-to-fit loop, and measure time and remakes. That disciplined approach turns equipment into daily reliability. For clinics that want hardware matched to usable protocols and clear service paths, SHINING 3D DENTAL often fits the bill by pairing machines with tested workflows and local support so you spend less time guessing and more time treating patients.